
Crispy Oven-Baked Chicken Tenders
This post may contain affiliate links.

These crispy oven-baked chicken tenders have a golden, crunchy panko coating and tender, juicy chicken inside. Made with simple pantry seasonings and baked instead of fried, they’re ready in just 30 minutes and perfect for an easy family dinner. Serve them with your favorite dipping sauce, alongside fries or tucked into wraps for a quick, satisfying meal.
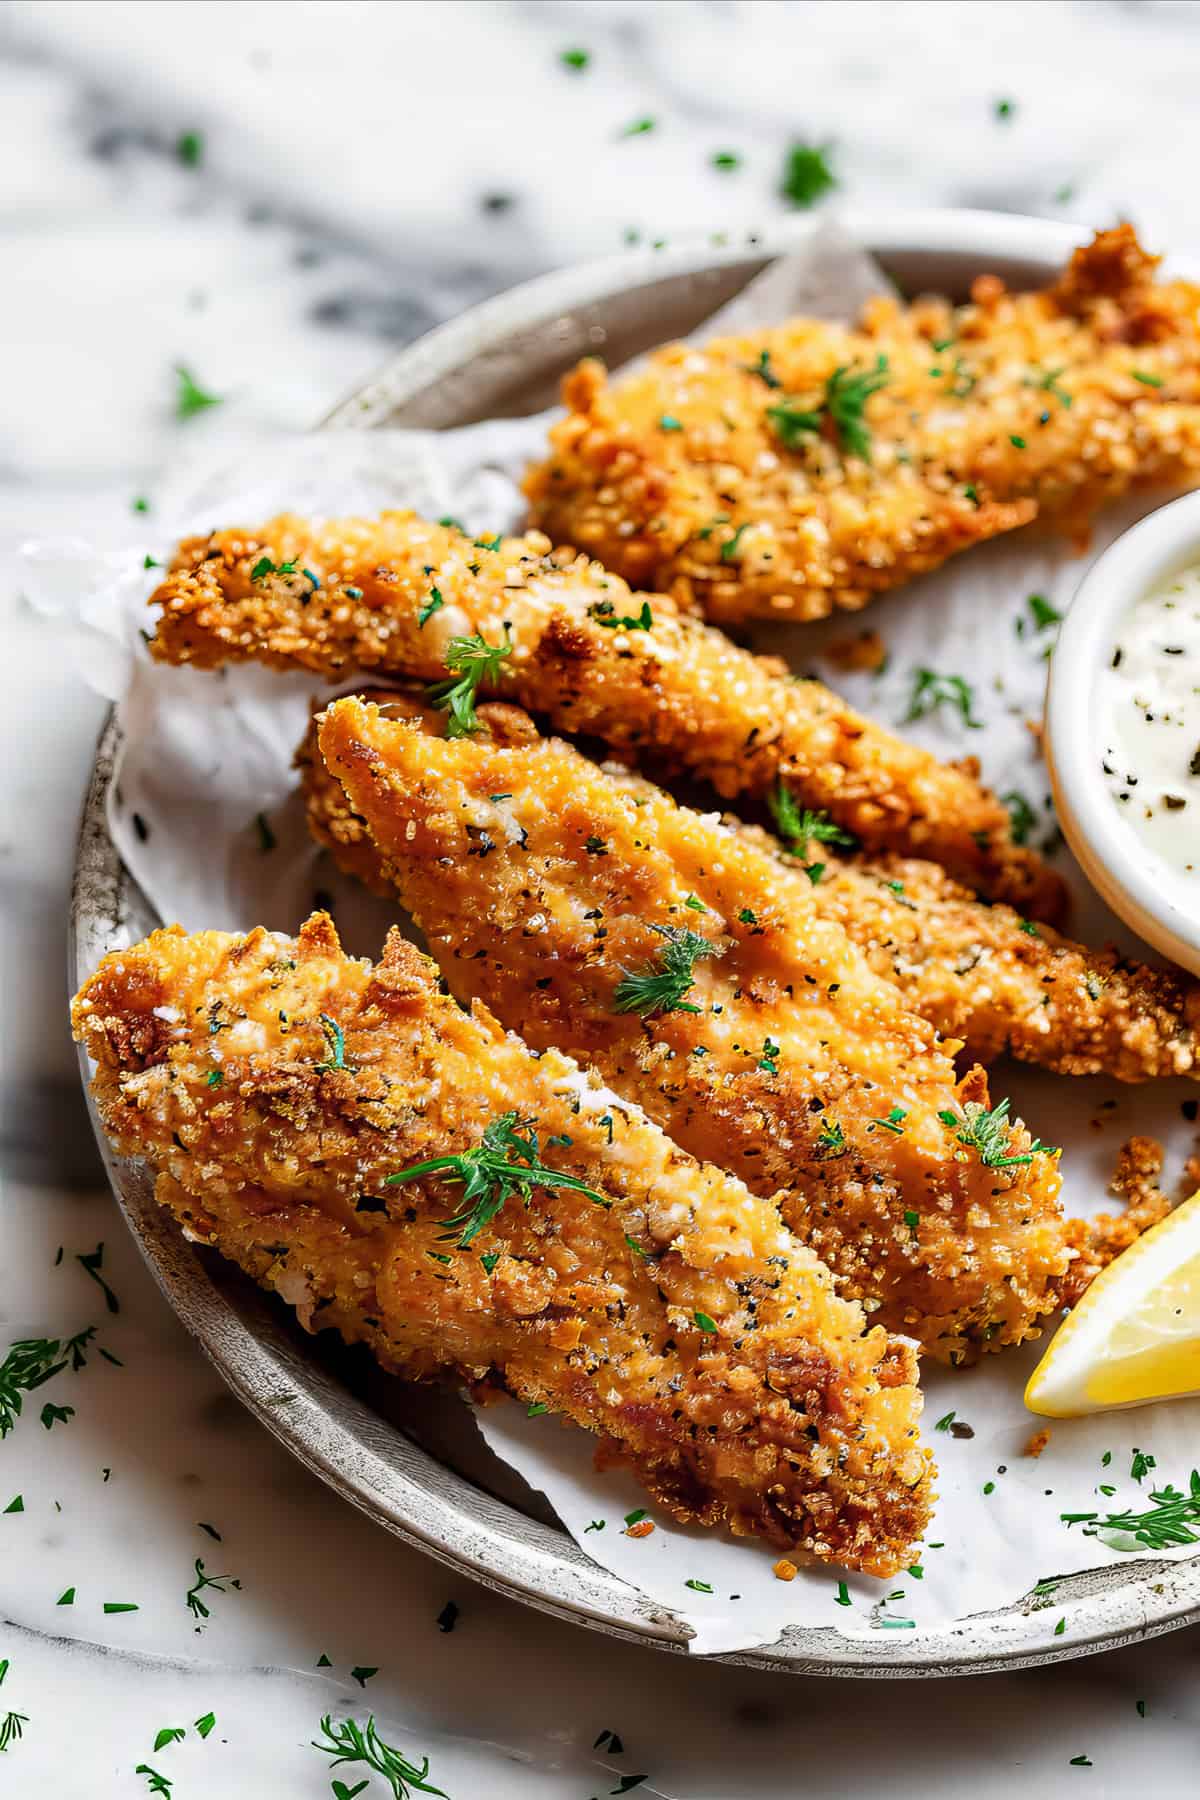
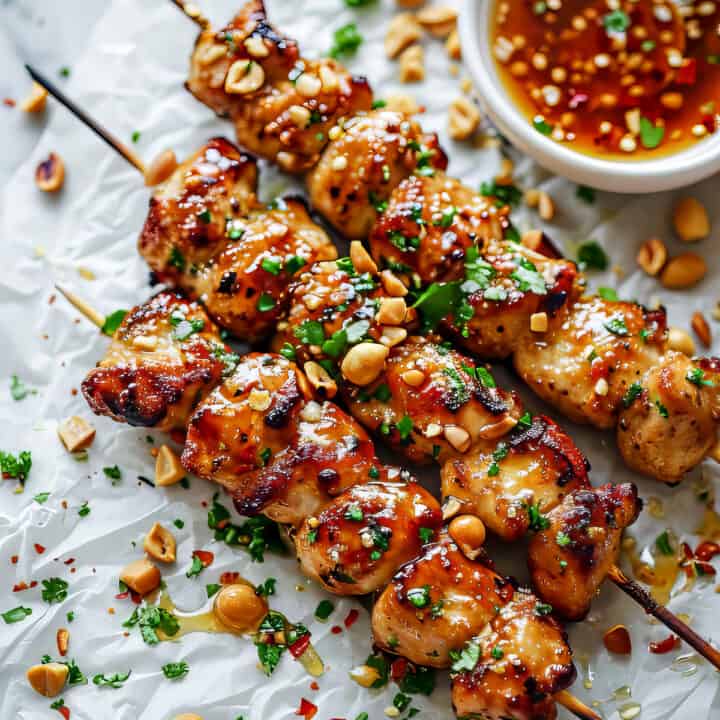
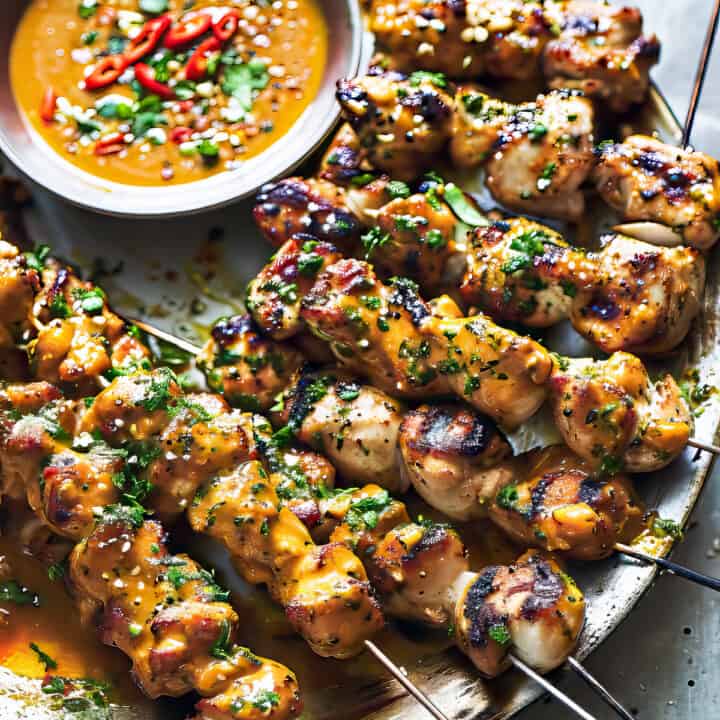
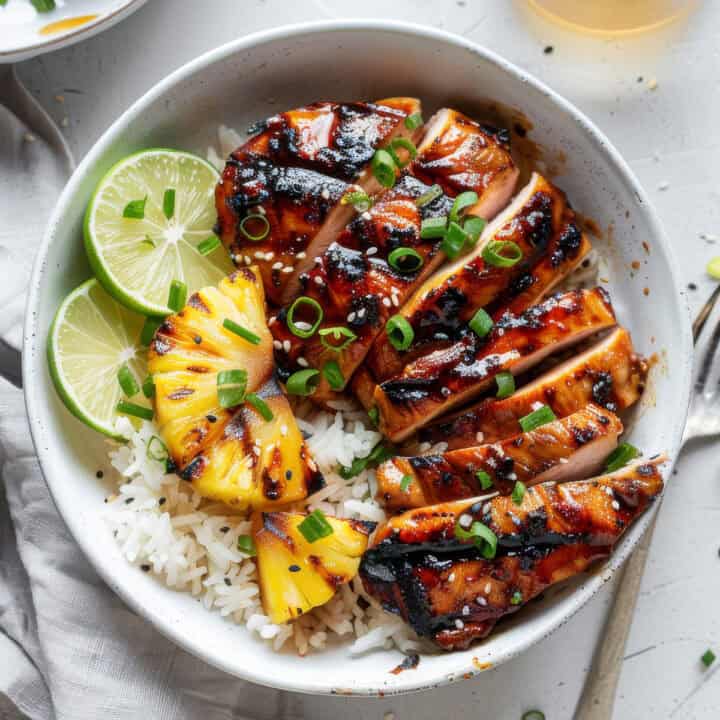
For more easy chicken recipes, try my honey garlic chicken skewers or these Thai chicken skewers.
Why this recipe works
Ingredients Required
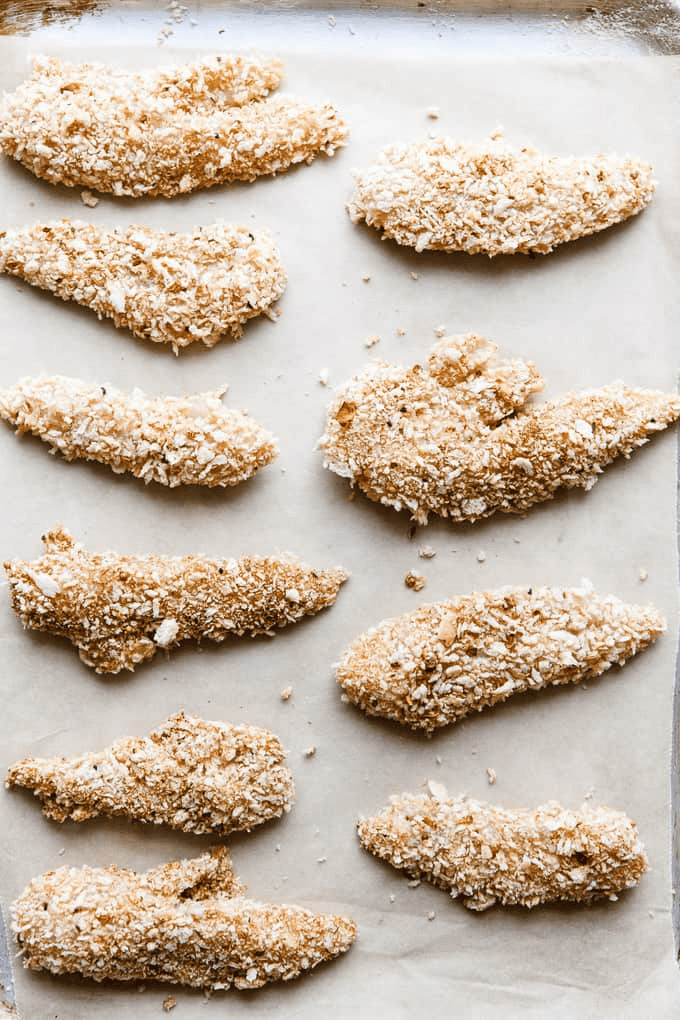
- Chicken tenders: Naturally tender and quick to cook. You can also use boneless, skinless chicken breasts cut into evenly sized strips.
- All-purpose flour: Creates the first layer of coating and helps the egg adhere to the chicken.
- Eggs: Help the seasoned breadcrumbs stick to the chicken, creating an even, crispy coating.
- Panko breadcrumbs: The secret to that light, crunchy texture. Their larger, airy flakes crisp up beautifully in the oven.
- Garlic powder: Adds savory flavor throughout the breadcrumb coating.
- Paprika: Adds a subtle warmth and helps give the coating its golden color.
- Salt and black pepper: Season the chicken and coating so every bite is flavorful.
- Oil spray: A light coating helps the breadcrumbs brown and crisp in the oven without deep frying.
See the recipe card at the bottom of the post for exact quantities and full instructions.
How to Make Crispy Oven-Baked Chicken Tenders
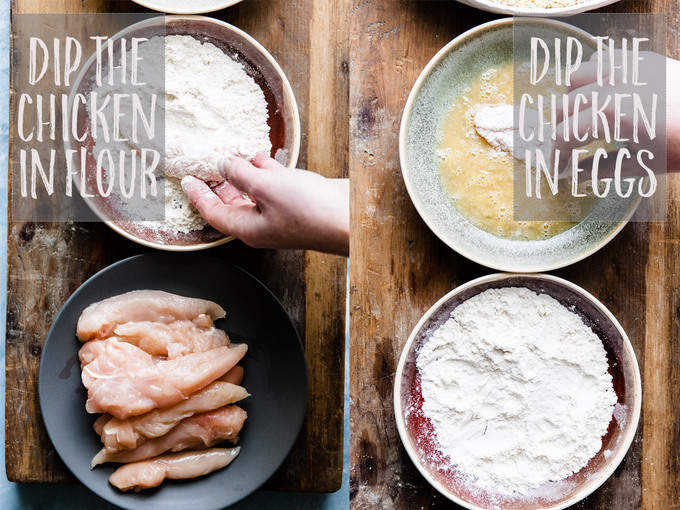
- Prepare the breading stations. Preheat the oven to 400°F (200°C) and line a large baking sheet with parchment paper. Set out three shallow bowls: one with flour, one with beaten eggs, and one with panko breadcrumbs mixed with the seasonings.
- Coat the chicken in flour and egg. Working with one chicken tender at a time, dredge it in the flour, shaking off any excess. Dip it into the beaten eggs, making sure it’s completely coated. Let any excess egg drip off before moving to the breadcrumbs.
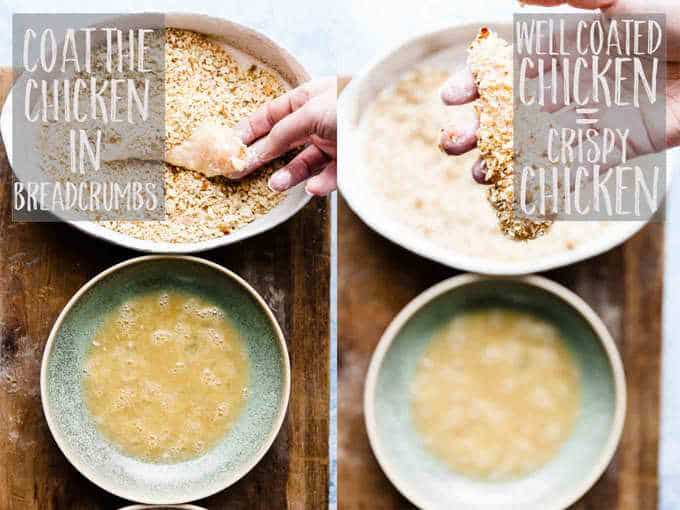
- Coat with breadcrumbs. Press the chicken into the seasoned panko breadcrumbs, turning to coat all sides. Gently press the breadcrumbs onto the chicken to help them adhere and create an even, crunchy coating.
- Arrange on the baking sheet. Place the breaded chicken tenders on the prepared baking sheet, leaving space between each piece so the hot air can circulate. Lightly spray the tops with oil to encourage even browning.
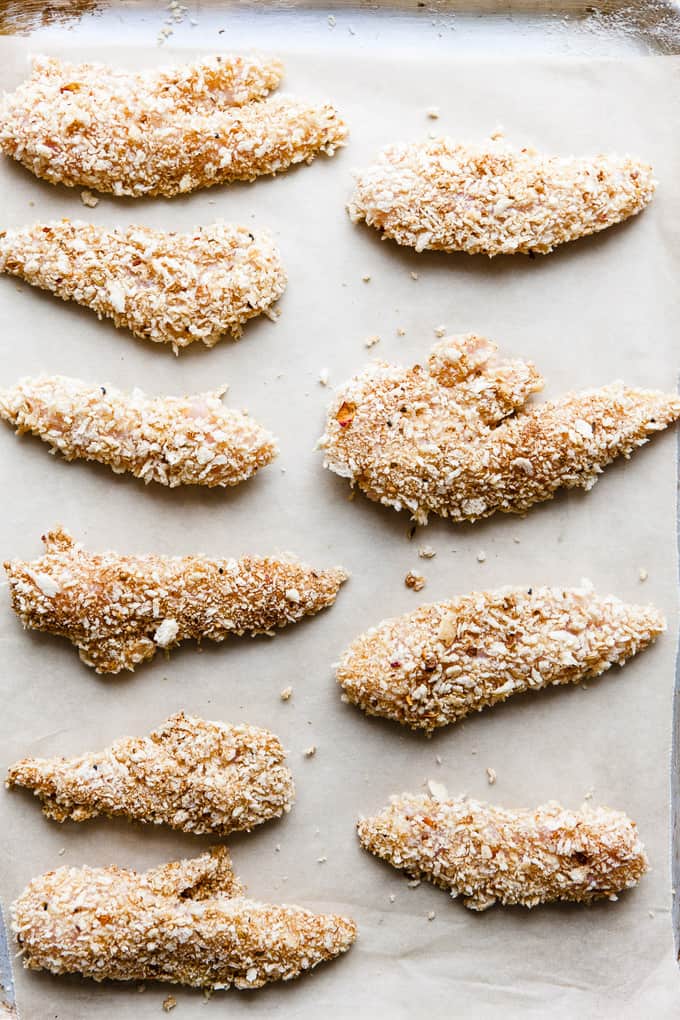
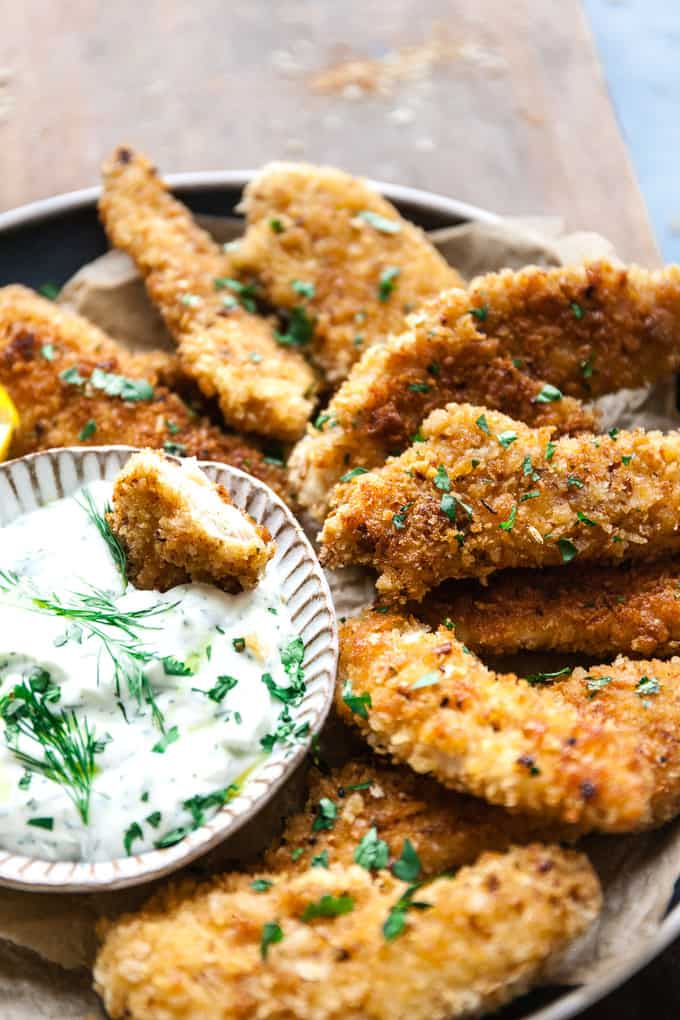
- Bake until golden and crispy. Bake for 18–20 minutes, turning halfway through, until the coating is golden and crisp and the chicken reaches an internal temperature of 165°F (74°C). Serve immediately with your favorite dipping sauce.

Chef’s Guide: Expert Tips
Drawing on a decade of experience in Michelin-starred kitchens and Cordon Bleu training, I have compiled my top tips for recipe success.
- Keep the chicken evenly sized: Choose tenders of a similar thickness so they cook at the same rate. If you’re using chicken breasts, slice them into evenly sized strips to prevent smaller pieces from drying out.
- Use panko for the crispiest coating: Panko breadcrumbs have a lighter, flakier texture than regular breadcrumbs, creating a crispier coating without deep frying.
- Follow the breading order: Flour first, then egg, then breadcrumbs. The flour helps the egg adhere, while the egg acts as the glue that holds the breadcrumbs in place. Shake off any excess at each stage to prevent a thick, uneven coating.
- Press the breadcrumbs onto the chicken: Rather than simply rolling the tenders in the breadcrumbs, gently press the coating onto each piece. This helps it stick during baking and when turning the chicken.
- Don’t overcrowd the baking sheet: Leave space between the tenders so moisture can escape. Crowding traps steam, which can leave the breadcrumbs soft rather than crispy. Use two baking sheets if necessary.
- Use a light coating of oil: Spraying the tops of the tenders helps the breadcrumbs brown and crisp in the oven. There’s usually no need to spray the second side after turning, as the heat and moisture from the chicken help the underside brown.
- Check the internal temperature: Chicken tenders cook quickly, and overbaking can dry them out. Use an instant-read thermometer and remove them from the oven when the thickest part reaches 165°F (74°C).
- Serve immediately: The coating is at its crispiest straight from the oven. If you’re cooking in batches, keep the finished tenders on a wire rack rather than stacking them, which traps steam and softens the breadcrumbs.
What to do with leftovers
- Fridge: Store leftover cooked chicken tenders in an airtight container in the refrigerator for up to 3–4 days. Let them cool before storing, but refrigerate within 2 hours of cooking.
- Reheating: For the crispiest results, arrange the tenders on a baking sheet and reheat in a 375°F (190°C) oven for 8–10 minutes, or until heated through to 165°F (74°C). Avoid the microwave if possible, as it tends to soften the breadcrumb coating.
- Make ahead: Bread the chicken tenders up to 24 hours in advance and arrange them in a single layer on a parchment-lined baking sheet. Cover and refrigerate until ready to bake. Spray lightly with oil just before baking.
- Freezing before baking: Arrange the uncooked, breaded chicken tenders in a single layer on a parchment-lined baking sheet and freeze until solid. Transfer to a freezer-safe container or bag and freeze for up to 3 months. Bake directly from frozen at 400°F (200°C), allowing extra cooking time until the chicken reaches 165°F (74°C).
- Do not freeze after baking: I don’t recommend freezing cooked chicken tenders for this recipe. The breadcrumb coating can lose its crispness after freezing and reheating, so freezing them before baking gives the best texture.
FAQs
Regular breadcrumbs work well, but you can also use crushed cornflakes or crushed crackers for different textures.
Yes, you can cook the breaded chicken tenders in an air fryer at 375°F (190°C) for about 12-15 minutes, flipping halfway through, until golden and crispy.
Make sure you follow the breading order: flour, egg, then breadcrumbs. Shake off excess flour and egg before moving to the next stage, and gently press the breadcrumbs onto the chicken. Let the coating set for a few minutes before baking to help it adhere.
Yes! Freeze the uncooked, breaded tenders individually on a baking sheet before transferring them to a freezer-safe bag or container. Bake directly from frozen at 400°F (200°C), adding extra cooking time as needed. Check that the thickest part reaches an internal temperature of 165°F (74°C) before serving.

Crispy Oven Baked Chicken Tenders
Ingredients
- 1 lb chicken tenders
- 1 cup all-purpose flour
- 2 large eggs
- 2 tablespoons milk
- 1 cup panko breadcrumbs, or regular breadcrumbs
- 1 teaspoon garlic powder
- 1 teaspoon paprika
- 1 teaspoon salt
- ½ teaspoon freshly ground black pepper
- Cooking spray
Instructions
- Preheat the oven. Preheat to 400°F (200°C). Line a large baking sheet with parchment paper or lightly grease it.
- Prepare the breading stations. Set out three shallow bowls. Add the flour to the first bowl. Whisk together the eggs and milk in the second. In the third, combine the breadcrumbs, garlic powder, paprika, salt, and black pepper.
- Bread the chicken. Working with one tender at a time, dredge it in the flour, shaking off any excess. Dip into the egg mixture, letting the excess drip off, then press into the seasoned breadcrumbs until evenly coated on all sides.
- Arrange on the baking sheet. Place the breaded chicken tenders on the prepared baking sheet, leaving a little space between each piece. Lightly spray the tops with cooking spray to help the coating turn golden and crispy.
- Bake until golden. Bake for 18–20 minutes, turning halfway through, until the coating is golden and crisp and the chicken reaches an internal temperature of 165°F (74°C).
- Serve. Serve immediately with your favorite dipping sauce.
Notes
- For extra crispy chicken: Panko breadcrumbs give the tenders a lighter, crunchier coating than regular breadcrumbs. Lightly spraying the tops with oil before baking helps them brown evenly.
- Keep the breading in place: Shake off excess flour and egg before coating with breadcrumbs. Gently press the breadcrumbs onto the chicken to help them adhere.
- Avoid overcrowding: Leave space between the tenders on the baking sheet so moisture can escape and the coating can crisp up.
- Make ahead: Bread the chicken up to 24 hours in advance. Arrange in a single layer, cover, and refrigerate until ready to bake.
- Freeze before baking: Place the uncooked, breaded tenders on a parchment-lined baking sheet and freeze until solid. Transfer to a freezer-safe bag or container and freeze for up to 3 months. Bake directly from frozen at 400°F (200°C), allowing additional cooking time until the internal temperature reaches 165°F (74°C).
- Storing and reheating: Refrigerate cooked leftovers in an airtight container for 3–4 days. Reheat in a 375°F (190°C) oven until hot throughout to help restore the crispy coating. Freezing after baking isn’t recommended for the best texture.
Nutrition
More Easy Chicken Recipes
Chocolate bar marzipan jujubes jelly-o carrot cake caramels. Tootsie roll cookie, jujubes powder icing lemon drops. Pastry brownie topping oat cake chocolate cake jelly candy gingerbread tart.
If you tried any of these recipes, please let me know in the comments below, and leave a star rating while you’re there!
For more recipe ideas, follow us on Pinterest, Facebook, and Instagram!
You can also find weekly meal plans and budget recipes on our sister site Savvy Bites.

Meet the Chef!
Hi, I’m Debs, a Cordon Bleu-trained chef and recipe developer. I help you get incredible dinners on the table fast with fool-proof recipes, step-by-step instructions, and tips and tricks I’ve learned over a 10-year career in professional kitchens.
The directions state to spray the tops of the chicken tenders to crisp them up. Upon turning them halfway through, is the turned up side sprayed upon turning?
No need to spray again after turning! The initial coating of oil helps with browning, and turning lets the other side receive direct heat and crisp up. I’ve always found that one spray is enough.
I needed to put under the broiler for a couple of minutes to brown them better. My husband loved them!!
So happy you loved the recipe. And thank you for taking the time to leave a comment. It’s so appreciated.
My family loves these!
Are the 706 calories per serving or for 4 servings?
The nutrition information provided is for one serving and is calculated based on all the ingredients listed, including the full amount of flour and eggs used for dredging the chicken. However, in reality, only a portion of the flour and eggs actually end up in the final dish—much of it is left behind during the coating process. So while the nutrition info gives a general idea, it’s calories listed are likely higher than what you’ll actually consume. Just something to keep in mind!
Delicious with little effort to put together. This chicken dish will most definitely be a part of our dinner rotation. Fast to put together, quick to bake, fast clean-up, delicious to eat. What more could you ask for?
So happy you loved this recipe! Thank you for taking the time to leave a comment. It’s very appreciated! 🙂
Came across this chicken tender recipe, hands down, so good. Quick to put together, great flavor, all around delicious. Keeping this in my rotation.
So happy you love this recipe. Thank you for taking the time to leave a comment. It’s so appreciated!
Excited to try these! For the cooking spray, does it matter if it’s canola, vegetable, extra virgin or avocado oil spray?
Doesn’t matter at all! I use canola or vegetable. But you can use any type. Enjoy! 🙂
It’s now our favorite.
So happy you love this one! Thank you so much for taking the time to leave a comment. It’s so appreciated! 🙂
totally brilliant! thoroughly enjoyed this and as you suggested it works really well with sweet potato fries.
These look stunning gorgeous and I love that the crumbs stayed with the chicken on biting. Because most often they separate. My kid will love these 🙂
These tenders look like the crunchiest oven fried chicken I’ve ever seen! I HAVE to try your recipe soon. I just know it’s going to taste amazing!
This fried chicken does look delicious,
Everything about these chicken tenders sounds phenomenal! That dip sounds so up my alley!
These will be going on my list of regular meals when I meal plan – thank you for the recipe! YUM!
Yummmmm! These look delicious Debs. Love that dip too!
These sound delicious. I’ve made something very similar before, but didn’t add the last step of frying them in oil. I’ll definitely try it next time!