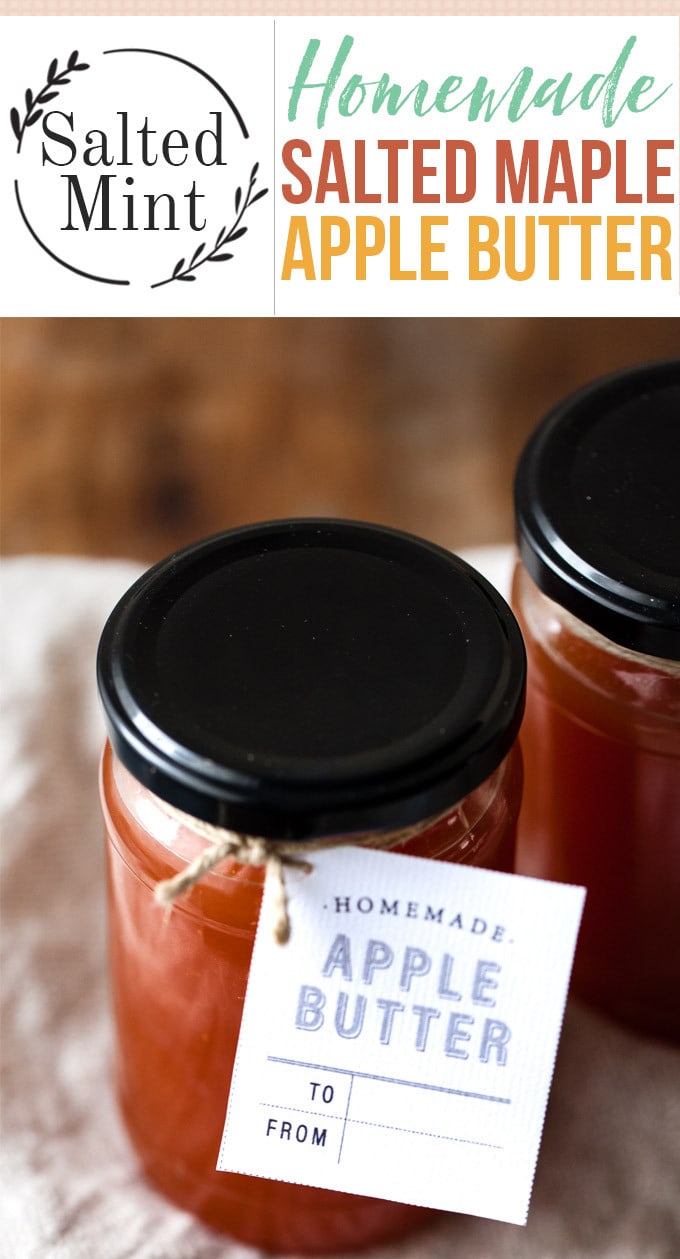
What's better than homemade apple butter??? Hint... it's homemade maple apple butter. This super easy, thick and sweet apple butter is so easy to make. It's perfect for using up leftover, or less than perfect apples and it makes a stunning gift.
Friends, these are the days. The crisp, cool days of fall and apple picking.
Apple picking. Do you do it? Or are you team produce aisle? Personally, I'm team produce aisle, but not because I dislike apple picking. But, because I can't be trusted around any kind of fruit tree.
Okay. Are you ready for the straight up weirdest confession ever?
If I see an apple tree, I have to steal an apple. Seriously. I don't know what's wrong with me. I've never stolen anything in my life (except that Sesame Street toothbrush from the drugstore when I was four, yes, I returned it!) but when I see apple trees, something comes over me.
It's like those sweet jewels hanging aloft those branches haunt me. And I will tell you this. The best apple you will ever have in your life is the one that you stealthily picked off someone's tree as you were casually walking by.
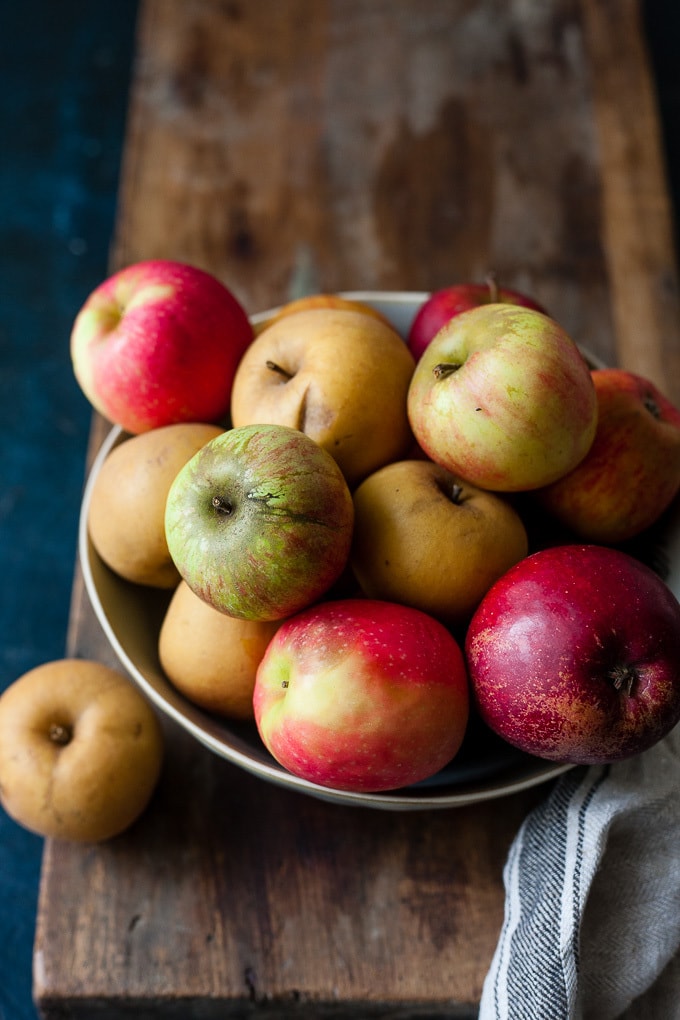
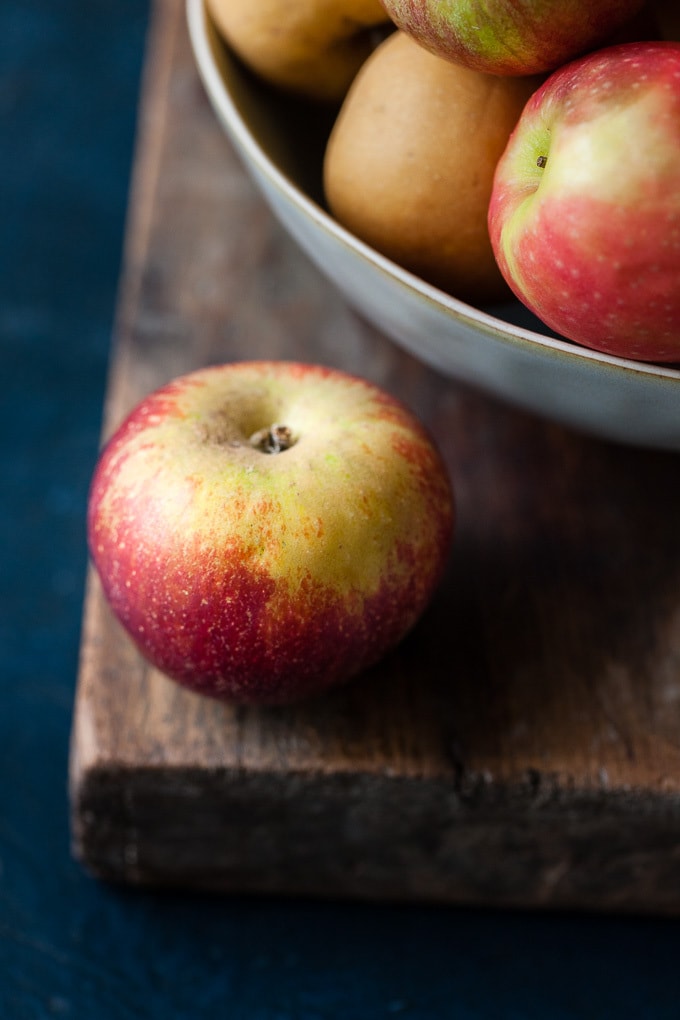
So, these stunning beauties are from my local market. They're a mix of sweet dessert apples and a couple of really tart cooking apples just to balance out the flavor. This apple butter recipe is reeeeally forgiving though, so you can use whatever you've got on hand. And then once you've made this apple butter, you should totally make these apple butter cinnamon buns.
One of my favorite varieties to use are russet apples. They're classed as a sweet dry apple and bring so much texture and brightness to this apple butter. If you can't find them, it's absolutely fine. A Honeycrisp would work really well instead.
How to make Maple Apple Butter
This is a simple process, but it does take a little time. Usually, my recipes are quick and easy, but some things really are worth spending the time on. As I practice more mindfulness, I find my mind more willing to slow down and take more time over important things.
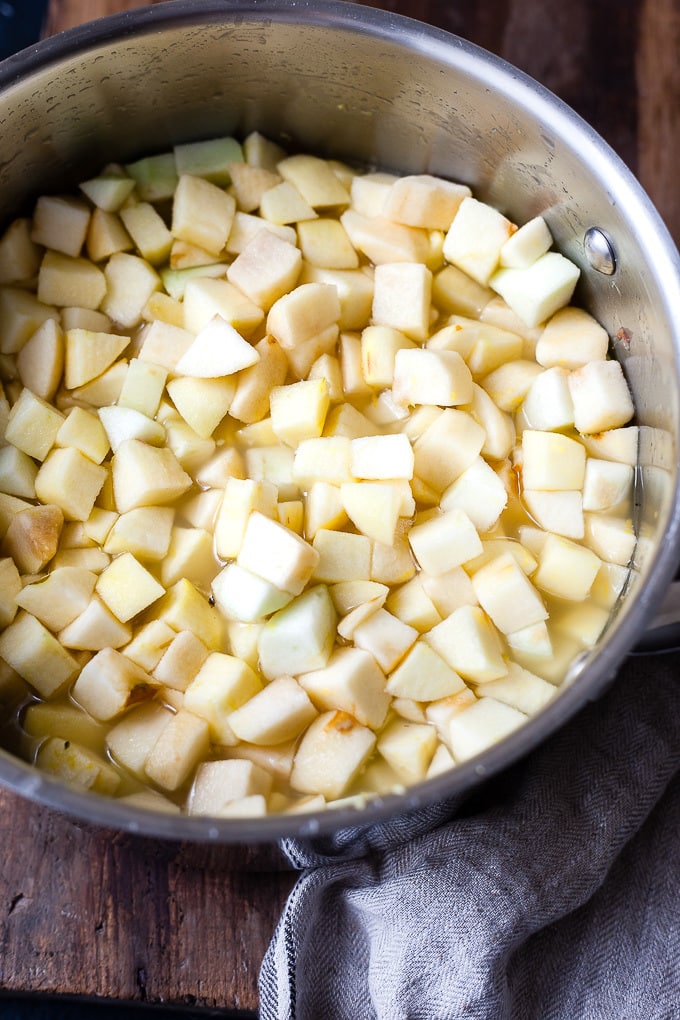
- Chop all your apples into apple pie size chunks. Don't be precious about this. Rough and ready is the name of the game here.
- Combine all of your apple juice or cider (I use the cloudy apple juice from Copella if you're in the UK) lemon juice and zest and make sure that your fruit is covered. If you need to you can add some extra juice or just top it up with water.
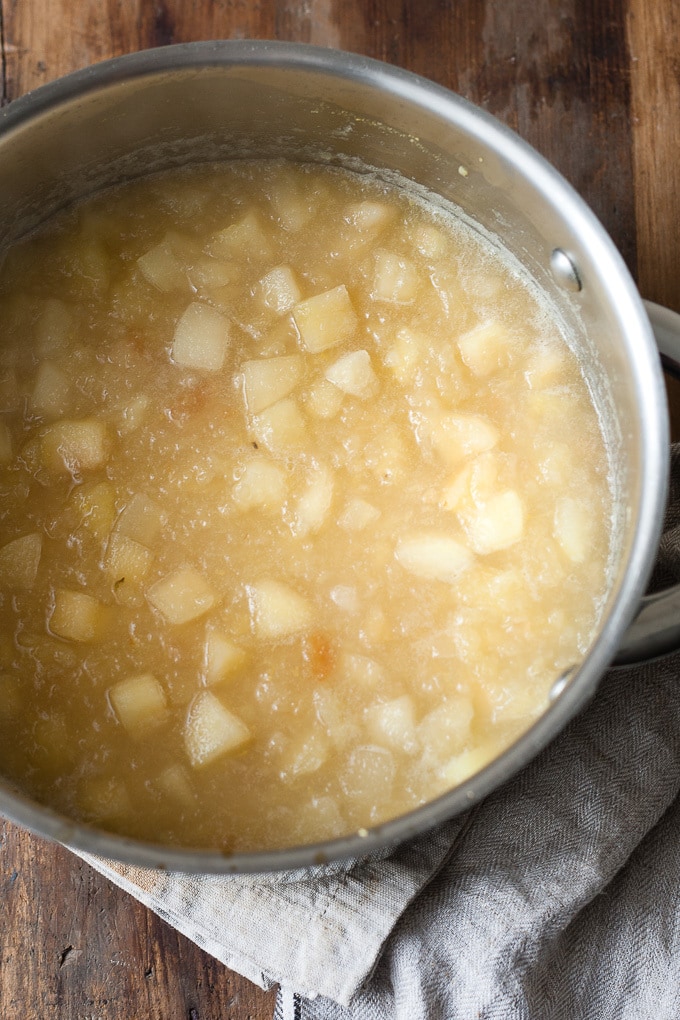
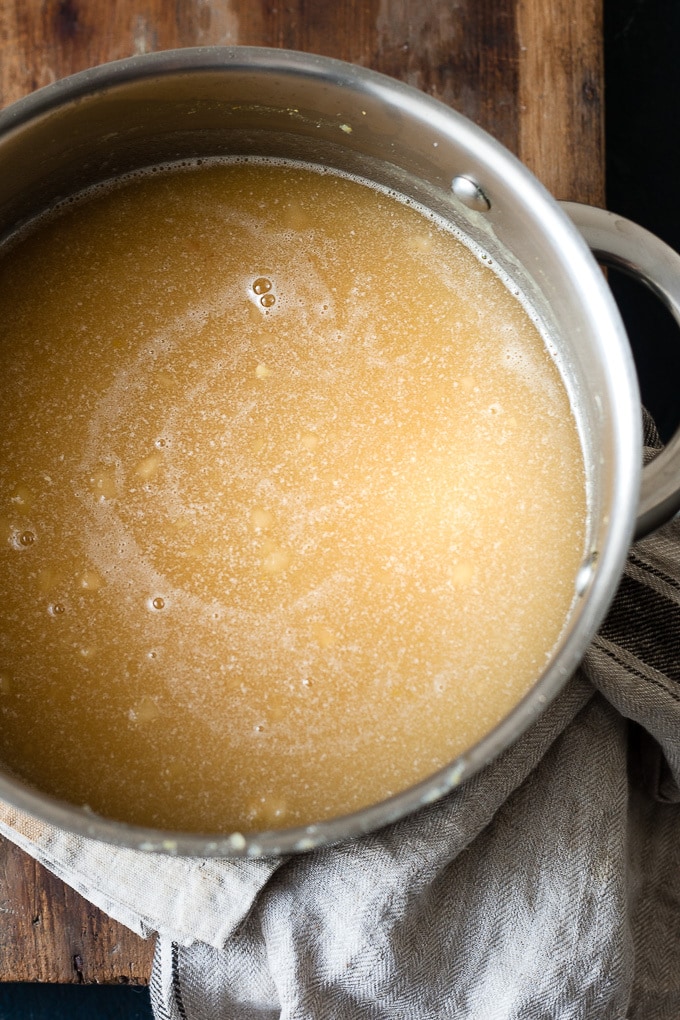
- Cook it all low and slow so that you end up with your apples completely breaking down. Once that's done, get out your blender and blend the apples and the entire contents of the pan to a smooth puree.
- This is where we add the sugar. Depending on how much applesauce you've got will depend on how much sugar you need to put in your apple butter. This part is also personal preference. So, if you like your apple butter on the "not too sweet side" then add a little less than the recipe calls for.
When I cooked my apple puree for the final step, the actual butter making, I took mine pretty far. My version is like something that you would and could spread on toast. Not something that is more like a sauce. To get that consistency, it took about 1 hour. I'm sure I could have had thick butter at the 45-50 minute mark, but I knew that I wanted it thick, so I was willing to go a little longer.
If you like your apple butter on the saucier side, then I recommend going for about 45 minutes.
How to Can Apple Butter Like a Pro
Let it be known, I love canning. I think it's a dying art, what with 1000's of jams available on your local grocery store shelf. Many of those jars are probably artisan in style and impeccable in quality. But, I just find it to be a simple homemade way of preserving each season and bringing your own spin to some simple fruit. You can dress it up or down and packaged nicely it makes such a stunning hostess gift for the holiday season. Homemade gifts from the heart are where it's at!
Canning is really part science, part art but it is mega time about keeping people safe. In the UK, there is still great reluctance to water bath preserves and jams in favor of the old fashioned way of just simply putting hot jam into hot jars, popping in a lid and letting the heat and the cooling process do the work.
Needless to say, when I moved here from Canada, I was stunned that it was still completely acceptable to can this way. *Newsflash... this kind of canning is not okay!!!!!!!
- Sterilize your jars and lids. Bring a large stock pot of water to the boil and keep it boiling.
- Using a canning funnel pour the apple butter into the jars and leave a ¼ inch headspace. Do this for all the apple butter. If you end up with some apple butter left over, but not enough to fill another jar, simple place this puree into a jar and make sure that you eat it within 5 days. Make sure that you use a clean wooden skewer to give the apple butter a quick stir to remove any air bubbles.
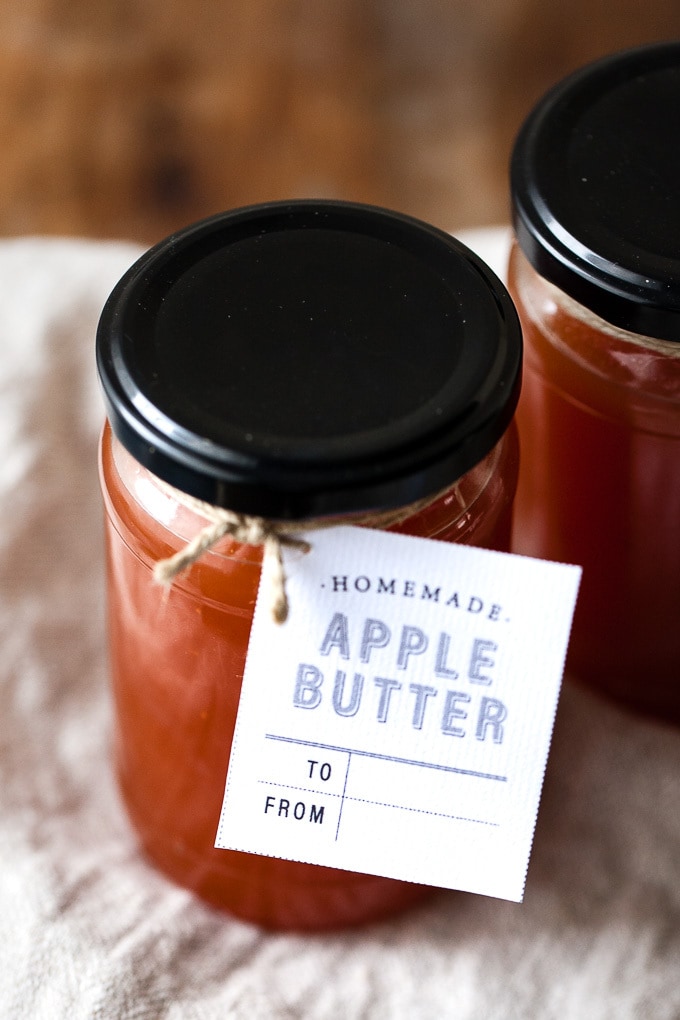
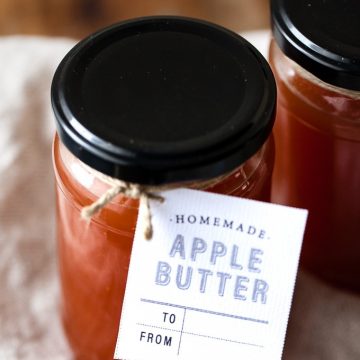
- Using some canning tongs, gently lower the jars into the boiling water and boil gently for about 5 minutes. Gently remove the jars from the boiling water and place on a tray lined with a tea towel. Be sure to keep the jars upright. Double check the lids for tightness and leave to cool fully for at least 8 hours or overnight. Make sure you label your apple butter.
Canning Essential Equipment
What I personally use
- Stainless steel canning funnel.
- Secure grip jar lifter.
- Canning Rack.
- Free Apple Butter Gift Tags.
- Jam Jars.
Other options available
For more info and instructions on canning, I highly recommend the websites I've listed below! Happy jamming, canning, and preserving!
- Fresh Preserving.
- Healthy Canning.
- Simply Canning.
THANKS SO MUCH FOR READING AND COOKING ALONG WITH ME! IF YOU MAKE THIS RECIPE OR HAVE A QUESTION, I’D LOVE IT IF YOU LEFT A COMMENT AND A RATING. YOU CAN ALSO FOLLOW ALONG ON PINTEREST, FACEBOOK AND INSTAGRAM TO SEE WHAT WE’RE EATING, PINNING AND A LITTLE BEHIND THE SCENES TOO!
Salted Maple Apple Butter
Ingredients
- 4 pounds (1.81 kg) tart cooking apples
- 4 cups (944 g) apple cider, or cloudy apple juice plus more as needed
- Grated zest and juice of 2 lemons
- 4 to 6 cups (4 to 6 cups) granulated sugar
- 2 teaspoons (2 teaspoons) ground cinnamon or a mixture of other apple pie spices, such as ground ginger, cloves, allspice, and nutmeg
- 1 cup (322 g) dark maple syrup
- 2 tablespoons (2 tablespoons) Maldon sea salt
Instructions
- Place 3 or 4 small plates in the freezer. Peel, core, and dice or slice the apples. In a large preserving pot over medium-high heat, combine the apples, apple cider or juice, and lemon zest and juice and cover. If the cider does not cover the fruit, add more cider (or water) to cover. Check on the pot occasionally to note the liquid level, as the apples can scorch. When the apples are soft, set the pot aside to cool. When cool enough to handle, pass the fruit through food mill or puree in the bowl of a food processor.
- Measure the puree. For every 2 cups of puree, measure out 1 cup of sugar. Because the fruit butter does not have to reach gel point and must simply mound on a spoon, it does not require much sugar and can be tart rather than very sweet.
- Return the fruit puree to the pot. Place a baking sheet on the counter near your stove. Heat a kettle of water. Set two stockpots on the stove and fill them with enough water to cover the jars by 1 to 2 inches. Bring the water to a boil over medium-high heat. Sterilize the jars (gently boil for 1 minute) in the water bath. Return the fruit puree to medium heat and add the, sugar, cinnamon and maple syrup.
- Gently cook, stirring frequently, until it thickens, approximately 1 hour. It may spit and pop, so make sure that your careful. Wear long pot-holder gloves, too. Bring the water bath back to a boil. If the jars have cooled, warm them in the water bath or in a 200 ° F oven. Simmer the lids in a saucepan of hot water. Place the jars on the baking sheet. The apple butter should mound on a spoon and hold its shape. If it isn’t ready, continue to cook and stir until it does. Remove the pot from the heat. Ladle the apple butter into the jars, leaving ¼-inch headspace. Wipe the rims clean and set the lids on the mouths of the jars. Twist on the rings.
- Using a jar lifter, gently lower the jars into the pots. When the water returns to a boil, decrease the heat to an active simmer, and process the jars for 15 minutes. Turn off the heat and leave the jars in the water for 1 to 2 minutes. Using the jar lifter, transfer the jars from the pots to the baking sheet and let sit for at least 6 hours, until cool enough to handle. Check to be sure the jars have sealed (see this page). Label and store the sealed apple butter for 6 months to 2 years. Once open, store in the refrigerator for up to 3 months.



TRANG says
Canning kind of scare me haha but this apple butter looks super cozy and much needed for Fall!wil
Debs says
Thanks so much Trang!!!! I used to be so nervous about canning too, but I took the plunge and it's so much easier than I thought it was!